
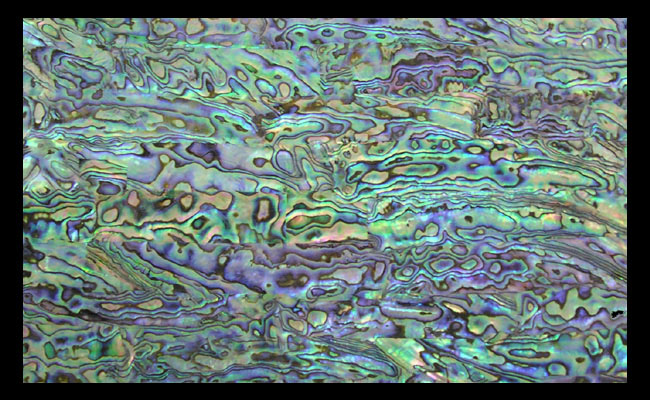
Standard Shell sheet : 240 x 140 x 0.15 mm
(Ex) The shell sheet below is a shell sheet made using New Zealand shells.
Design
After drawing the design you want on thin paper, attach the above shell sheet with glue.
– Glue is easily soluble in water.
Usually, when producing for mass production in commercial terms, about 50 to 100 shell sheets are bundled and then the design paper is attached.
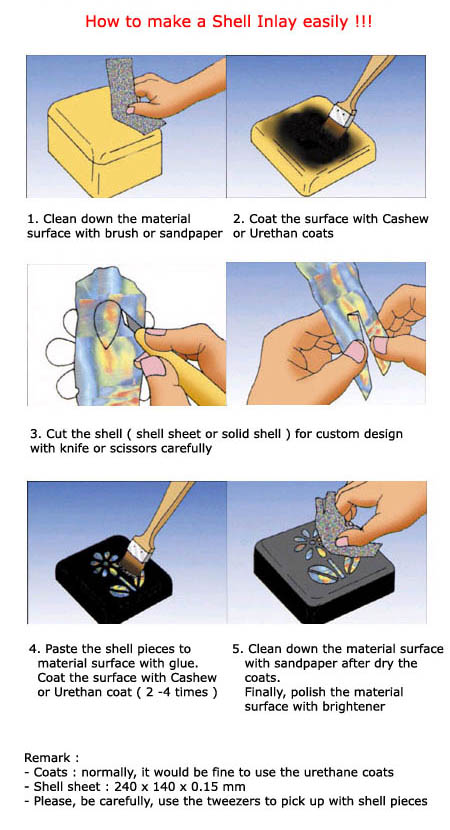
Cutting
Cut as designed with a thin jigsaw or cutter knife.
Hot water
Soak the cut shell pieces in slightly hot water for 30 minutes to 1 hour to melt the glue used as an adhesive and separate them individually as shown in the photo below.
(Temperature around 60-70 degrees)
Preparing Tiles
Prepare ceramic tiles and tweezers by soaking the separated shell pices in the prepared glue.
Put a shell pieces to tile
Carefully attach the glued shell pieces to the tile using tweezers.
Drying Tile
Place the shell pieces as desired on the tile and dry at room temperature for 30 minutes to 1 hour.
Coating
Last work (This work should be done in a dust-free area.)
a) After the last operation, coat the tile surface with acrylic urethane using a brush or spray gun.
b) After that, dry it for 1 to 2 days.
c) Gently grind the urethane-coated tile surface with very fine sandpaper.
d) Again, repeat steps (a)~(c) 2-3 times.
e) Finally, the shell tile finished with the above work must be dried for 5 – 7 days to make the surface hard.
f) Therefore, the tile production period takes about 20-30 days regardless of the quantity.